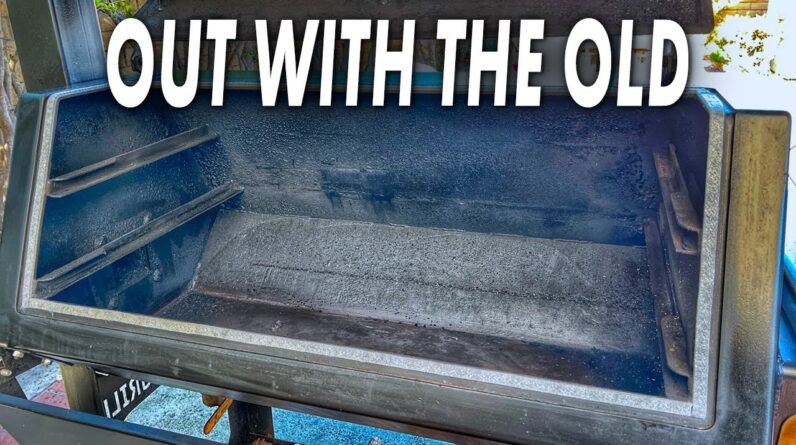
Welcome to our blog post that will guide you through the easy process of replacing the gasket on your offset smoker. If you’re looking to enhance the performance of your smoker and drastically reduce smoke leakage, then this guide is for you. Out with the old and in with the new, we’ll take you step by step on how to seamlessly replace the gasket on your offset smoker. So, grab your tools and let’s get started on this practical upgrade!
Easy Guide on Replacing Gasket on My Offset Smoker: Out with the Old & In with the New
Introduction
Are you a barbecue enthusiast who loves to fire up your trusty offset smoker and enjoy some mouthwatering, fall-off-the-bone ribs or perfectly charred brisket? If so, you probably already know the importance of maintaining your smoker to ensure optimal performance and delicious results. One crucial component that often requires attention is the gasket, which helps create a tight seal and maintain the desired temperature inside the smoker.
In this easy guide, we will walk you through the process of replacing the gasket on your offset smoker. Whether you’re a seasoned pitmaster or a grilling newbie, following these steps will have your smoker good as new in no time!
Step-by-Step Guide
Replacing the gasket on your offset smoker is a relatively simple task that requires a few basic tools and materials. Before we get started, make sure you have the following items on hand:
- New gasket material
- Barbecue cleaner
- Rubbing alcohol
- Scrubby sponge or brush
- Razor blade or scraper
- Heat-resistant adhesive
- Clamps or heavy objects (e.g., bricks or weights)
Now that you’re all set, let’s dive into the process:
-
Identify the gasket in need of replacement: Inspect your offset smoker and locate the gasket that requires replacement. Typically, it will be found around the cook chamber door, where it forms a seal between the door and the smoker body.
-
Remove the old gasket: Using a razor blade or scraper, carefully peel off the old gasket from the surface. Take your time to ensure all remnants of the old gasket are removed, as any remaining adhesive or debris may hinder the effectiveness of the new gasket.
-
Clean the surface: Thoroughly clean the area where the gasket was previously attached. Start by using a barbecue cleaner to remove any grease, grime, or cooked-on residue. Next, wipe down the surface with rubbing alcohol to ensure it is free from any remaining debris. This step is crucial for promoting better adhesion of the new gasket.
-
Measure and cut the new gasket: Lay out the new gasket material and cut it to the appropriate length using scissors or a utility knife. Make sure to account for any corners or bends in the surface where the gasket will be applied.
-
Apply adhesive: Apply a thin, even layer of heat-resistant adhesive to the surface where the gasket will be attached. Be sure to follow the manufacturer’s instructions for the specific adhesive you are using. Allow the adhesive to set according to the recommended time frame.
-
Attach the new gasket: Carefully press the newly cut gasket onto the adhesive-coated surface, ensuring it adheres firmly and uniformly. Starting from one end, work your way along the surface, gently smoothing out any air bubbles or wrinkles as you go. Applying light pressure, use clamps or heavy objects (such as bricks or weights) to hold the gasket in place while the adhesive fully cures.
-
Let it cure: Allow the adhesive to cure completely based on the time specified in the product instructions. This will ensure a strong and secure bond between the gasket and the smoker.
-
Test the seal: Once the adhesive has fully cured, close the cook chamber door and check for a tight seal. Gently tug on the door to ensure the gasket holds in place and provides a snug fit. If you notice any areas where the seal is not optimal, make small adjustments or consider reapplying adhesive to those specific spots.
Conclusion
Congratulations! You’ve successfully replaced the gasket on your offset smoker and improved its performance and efficiency. Now, you can get back to doing what you love most – cooking up delicious barbecue. Remember, regular maintenance and care will keep your smoker in top-notch condition, allowing you to enjoy many more flavorful meals for years to come.
FAQs
-
Does the brand of gasket material matter?
- While different brands may have slight variations, focus on choosing a high-quality gasket material that is heat-resistant and designed specifically for use in smokers.
-
Can I clean the gasket with water instead of barbecue cleaner?
- It is best to use a dedicated barbecue cleaner, as it is formulated to remove grease and stubborn residue effectively. Water alone may not be as effective in achieving the desired level of cleanliness.
-
How often should I replace the gasket on my offset smoker?
- The lifespan of a gasket can vary depending on usage and environmental factors. As a general guideline, inspect the gasket periodically and replace it if you notice signs of wear, peeling, or a compromised seal.
-
Can I use other adhesives instead of heat-resistant adhesive?
- It is recommended to use heat-resistant adhesive specifically designed for high-temperature applications. Other adhesives may not withstand the heat generated by the smoker and could deteriorate or fail prematurely.
-
Is it necessary to use clamps or heavy objects to hold the gasket in place?
- Clamps or heavy objects are not strictly necessary, but they can help ensure a secure bond between the gasket and the smoker surface. If you don’t have clamps or weights available, applying manual pressure and allowing the adhesive to cure undisturbed should suffice.

