If you’re a fan of camping or beach adventures, you know that food cooked over an open flame tastes even better in the great outdoors. And what’s better than cooking your own delicious smoked meat while enjoying the scenery? Building your own DIY portable smoker is easier than you think, and can be done with affordable materials and a little bit of know-how. With this guide, you’ll learn how to make a portable smoker that can go wherever your adventures take you, and impress your fellow campers or beach-goers with mouth-watering smoked dishes.
How to Make a DIY Portable Smoker for Your Camping and Beach Adventures
Experiencing the great outdoors with loved ones can be truly exhilarating, with beach and camping trips among the most popular choices. There’s something about grilling your own meals out in the wilderness that makes the experience even more memorable. But hauling a large and heavy grill or smoker can be quite a task. What if we told you that you don’t have to lug around that cumbersome apparatus anymore? With this DIY portable smoker, you can enjoy perfectly smoked meats and a flavorful meal while on the go!
Introduction
By using simple and affordable materials, you can create your very own portable smoker that fits in your backpack. In this article, we will provide you with step-by-step instructions to make your own DIY portable smoker for your beach and camping cravings. This smoker won’t take up much space, but will give you smokey goodness that everyone will appreciate.
Materials Needed
- Aluminum foil
- Foil roasting pans
- Metal skewers
- Cooling rack
- Charcoal
- Nitrile gloves
- ThermoPro wireless thermometer
Instructions
- Using an aluminum foil chimney, start your charcoal and let it burn for twenty minutes or until it becomes white-hot. Amazon provides a great chimney starter, which you can purchase through this link: Chimney Starter
- While your charcoal is burning, get your foil roasting pans and create a half-inch gap in the partition by removing it. This will make room for the charcoal, and help create a better airflow.
- Create air vents with adjustable airflow like the one shown in the video using aluminum foil and the bottom part of the roasting pan. Make smaller holes in your vents to prevent the charcoal from falling through, yet enough for the smoke to escape.
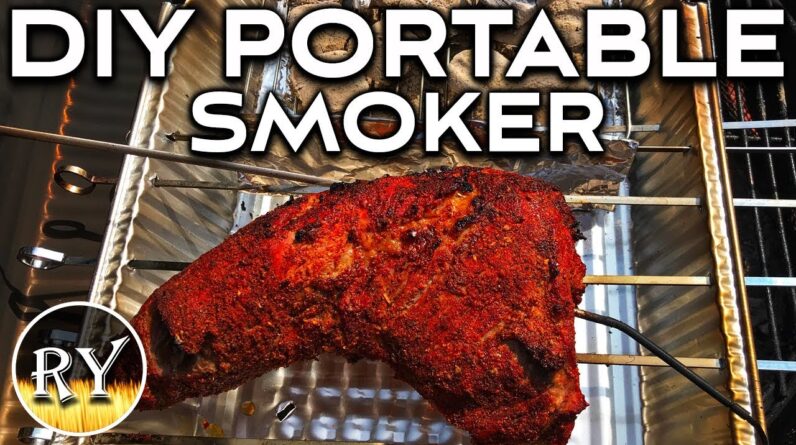
- After making the modifications to the bottom section, put your modified roasting pan on top of the metal rack.
- Attach skewers to two opposite sides of your smoker, forming a rack to hold the charcoal over the vents. Attach skewers on the other two remaining sides, forming a separate rack to hold the meat.
- You can then create an extended lip on each side where the meat will be placed, allowing more airflow in.
FAQs:
Q1. Can I use different materials to make my smoker more durable?
A1. Yes, you can! You can utilize stainless steel instead of aluminum foil in making your smoker for added durability.
Q2. Can I use hardwood or fruitwood instead of charcoal?
A2. Yes, you can use whatever wood you prefer to impart a flavor you want to your meat.
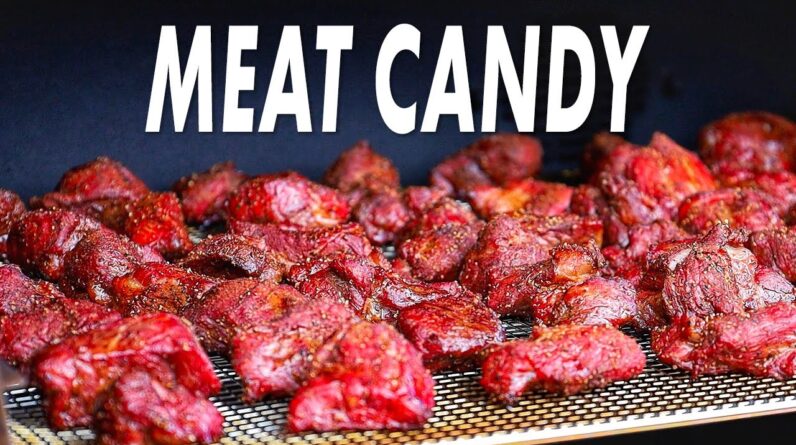
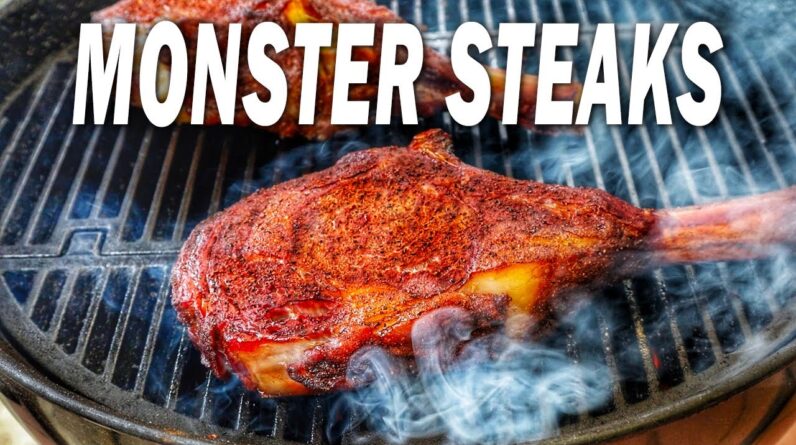
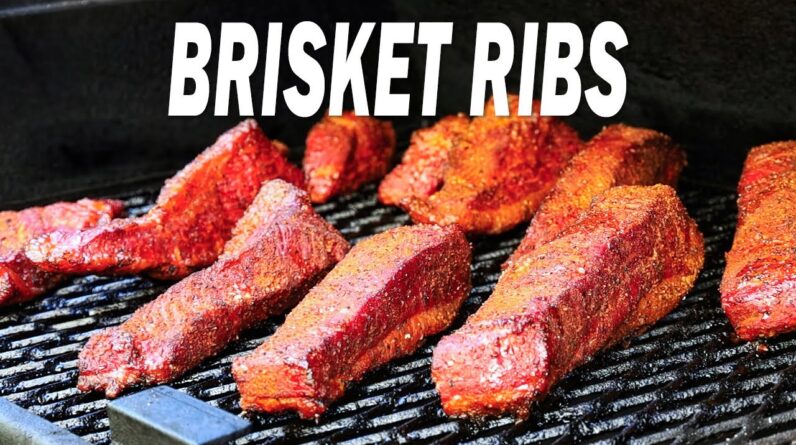
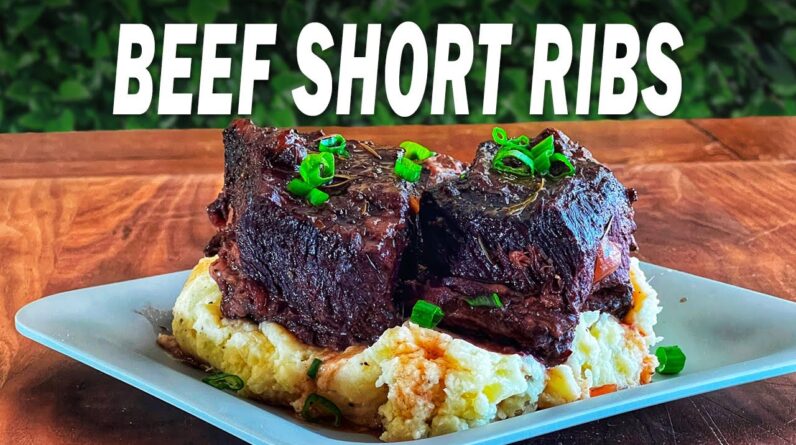
Q3. What kind of meat works best with this DIY portable smoker?
A3. This smoker is an all-purpose tool which can smoke any meat of your choice, from beef to pork, to chicken and fish.
Q4. Do I need to regulate the temperature while smoking my meat?
A4. Yes, you should regulate the temperature as it affects the way your meat is cooked. We suggest using ThermoPro wireless thermometer to make sure you have cooked your meat at the proper temperature.
Q5. Can I support Cooking with Ry through PayPal and social media?
A5. Yes, you can! In fact, Cooking with Ry would appreciate any support, so try visiting his channel and follow him on Instagram and Facebook.
Conclusion
In conclusion, making your own DIY portable smoker is an economical and worthwhile project that will provide you with a unique and satisfying grilling experience. With this guide and using a few simple materials mentioned above, you can create a space-saving smoker for camping and beach trips, as well as impress your loved ones during your next outdoor adventure. Don’t forget to pack your portable smoker on your next trip for a more exciting outdoor barbecue experience!